I played a non-solo Star Wars game with my 12 year old son. He set up the table and designed the scenario. I'm afraid I didn't take enough pictures, because I was "living in the moment," but when I mentioned that I would need to write a blog about our game, he suddenly started reminding me to take pictures!
The scenario was: he was the attacking Jedi with Rebel henchmen, and I was the defending Sith with Stormtroopers. He wanted to steal the glowy macguffin and I wanted to stop him. However, the hitch in his idea was that I started the game with two squads of Stormtroopers on the table and no Characters, while he got all of his, and he wanted to do a sneak mission. Wellll, the game and the rules don't really lend themselves to sneaking (I mean, it's a combat game) but they do have rules for hiding, so we used those until my Stormtroopers spotted his men and sounded the alarm.
My son doesn't have a ton of experience playing these types of games (my own fault, I know, and I'm trying to rectify that) but it's interesting watching him develop the tactical thinking necessary to Play-A-Game, rather than just play with some miniature figures and go "pew pew pew." As the game progressed I could see a few points at which, if I hadn't "taken one for the team" he might have gotten a little more down than I wanted. Don't get me wrong, he's not a sulker, or one to throw a tantrum and give up, but I didn't want to just smash him on his first outing on a new rule-set he'd never played before. That doesn't lend itself well to repeat play, which is what I want.
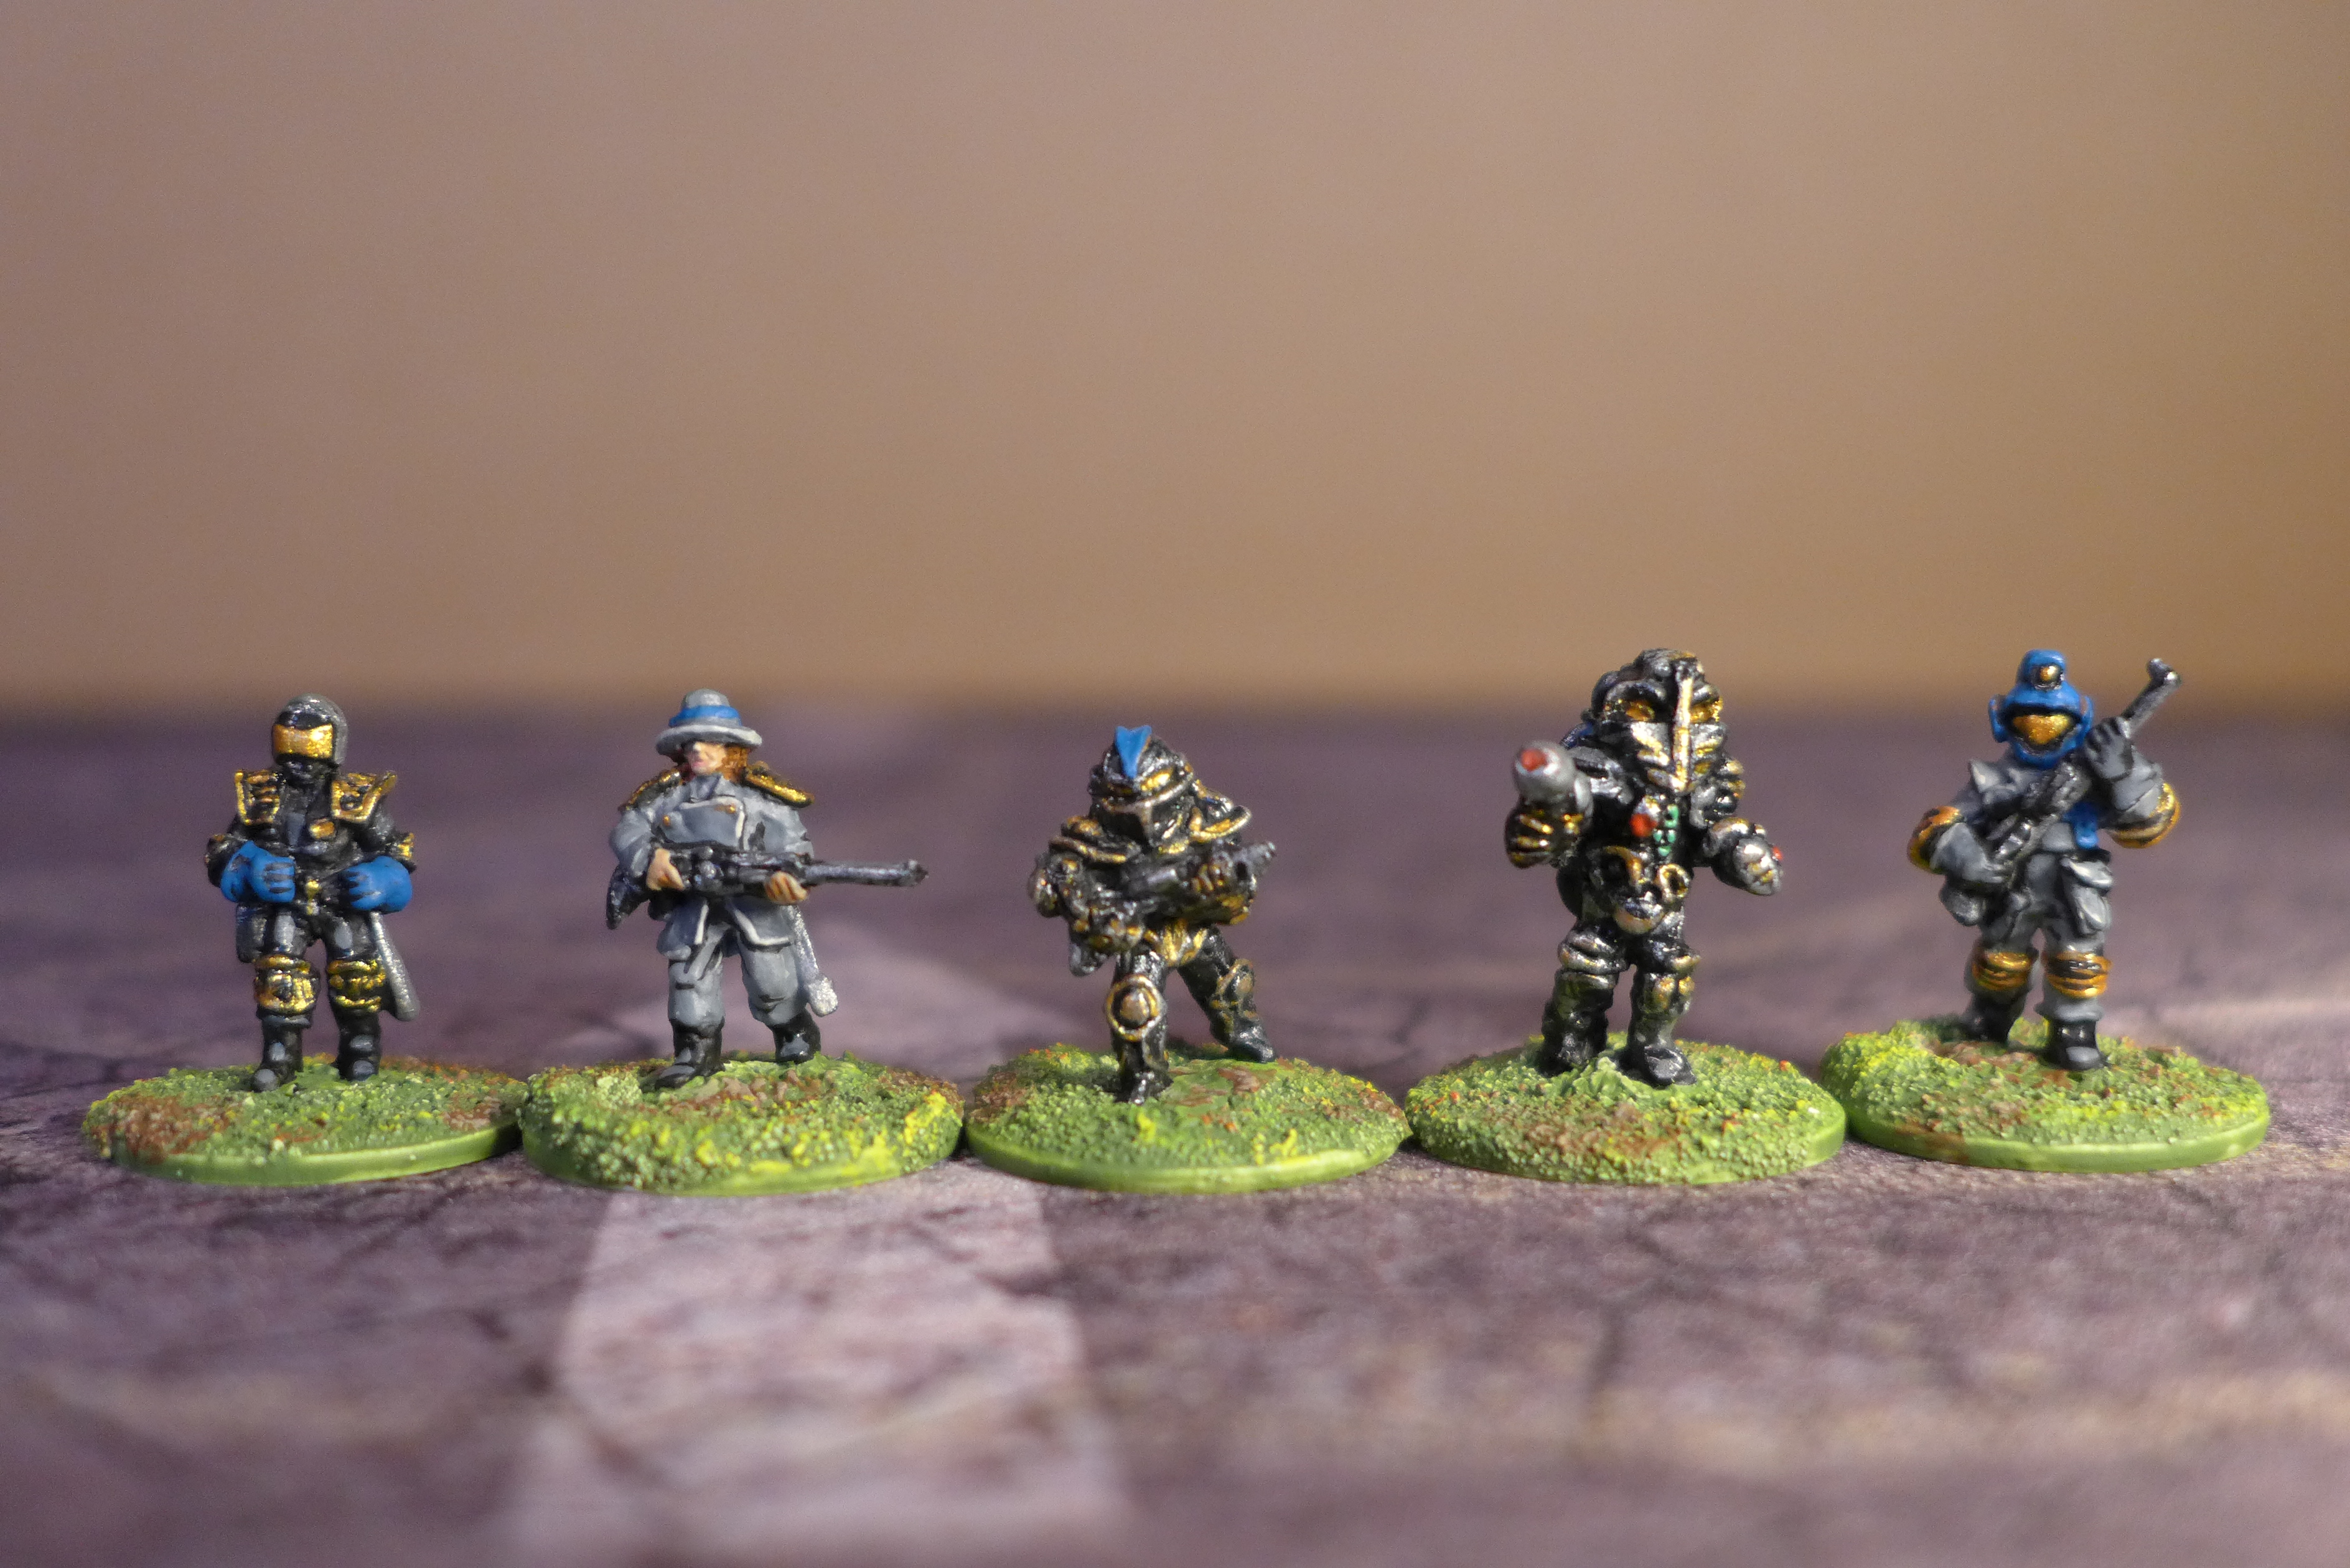
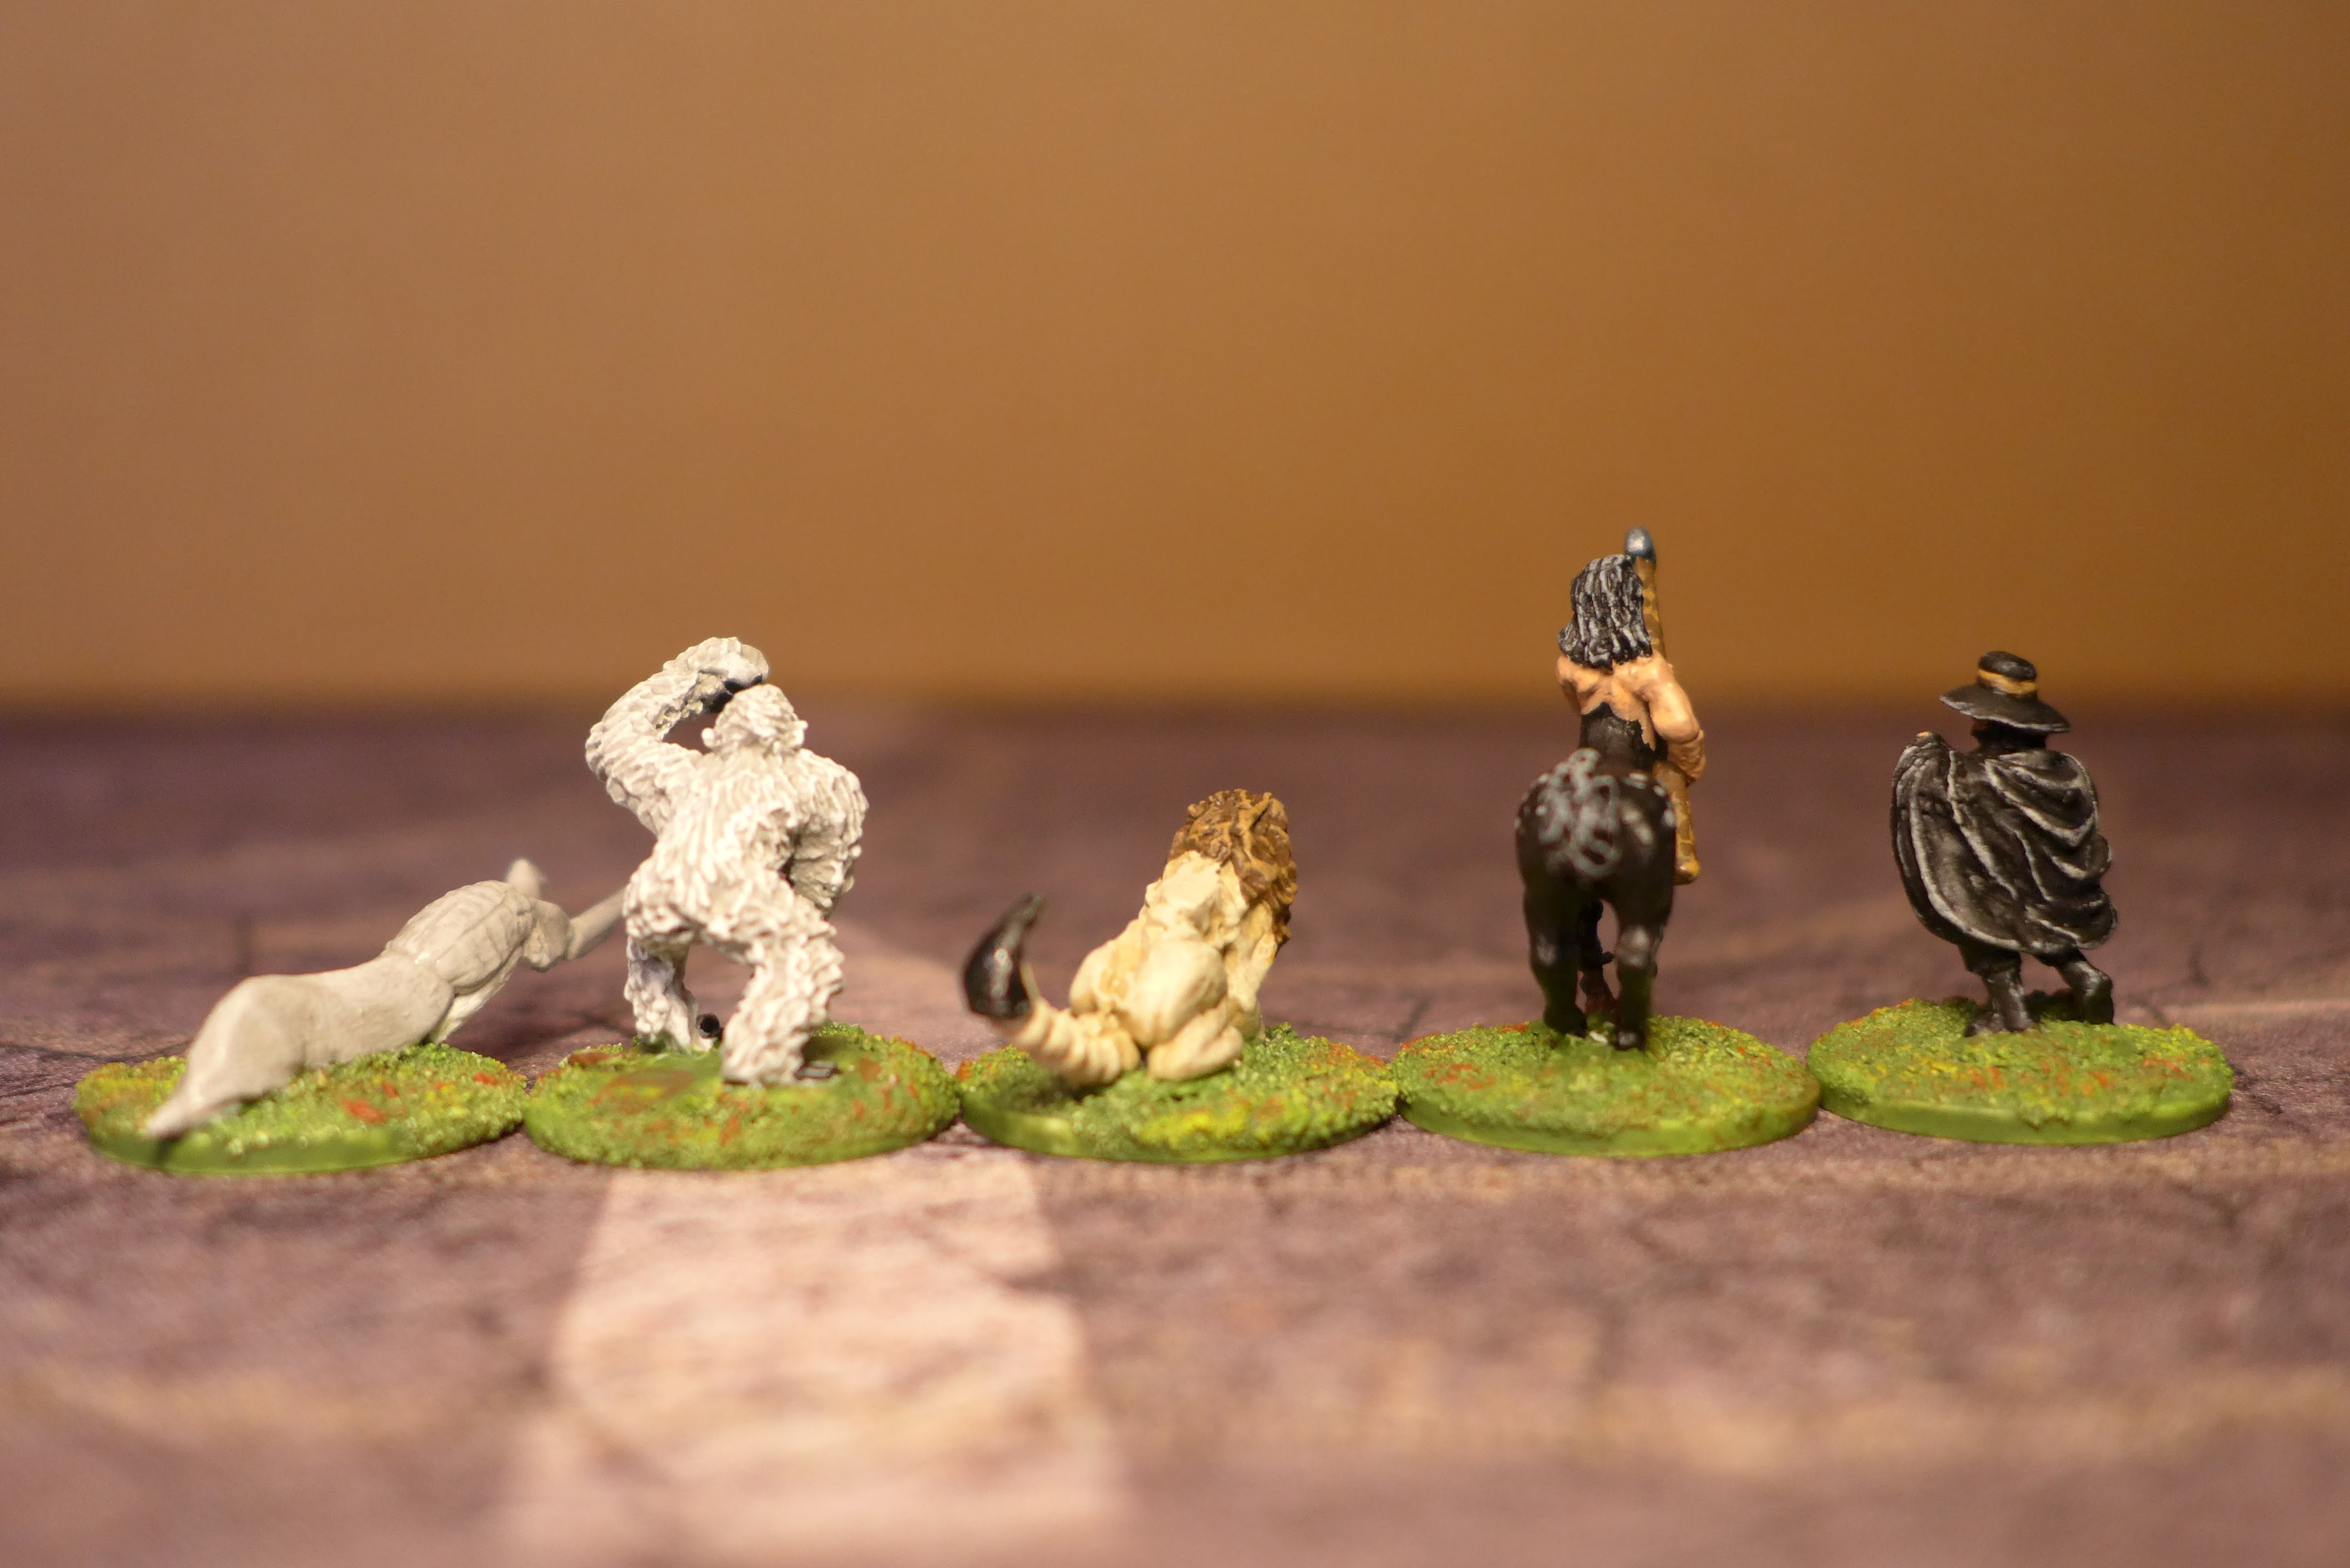
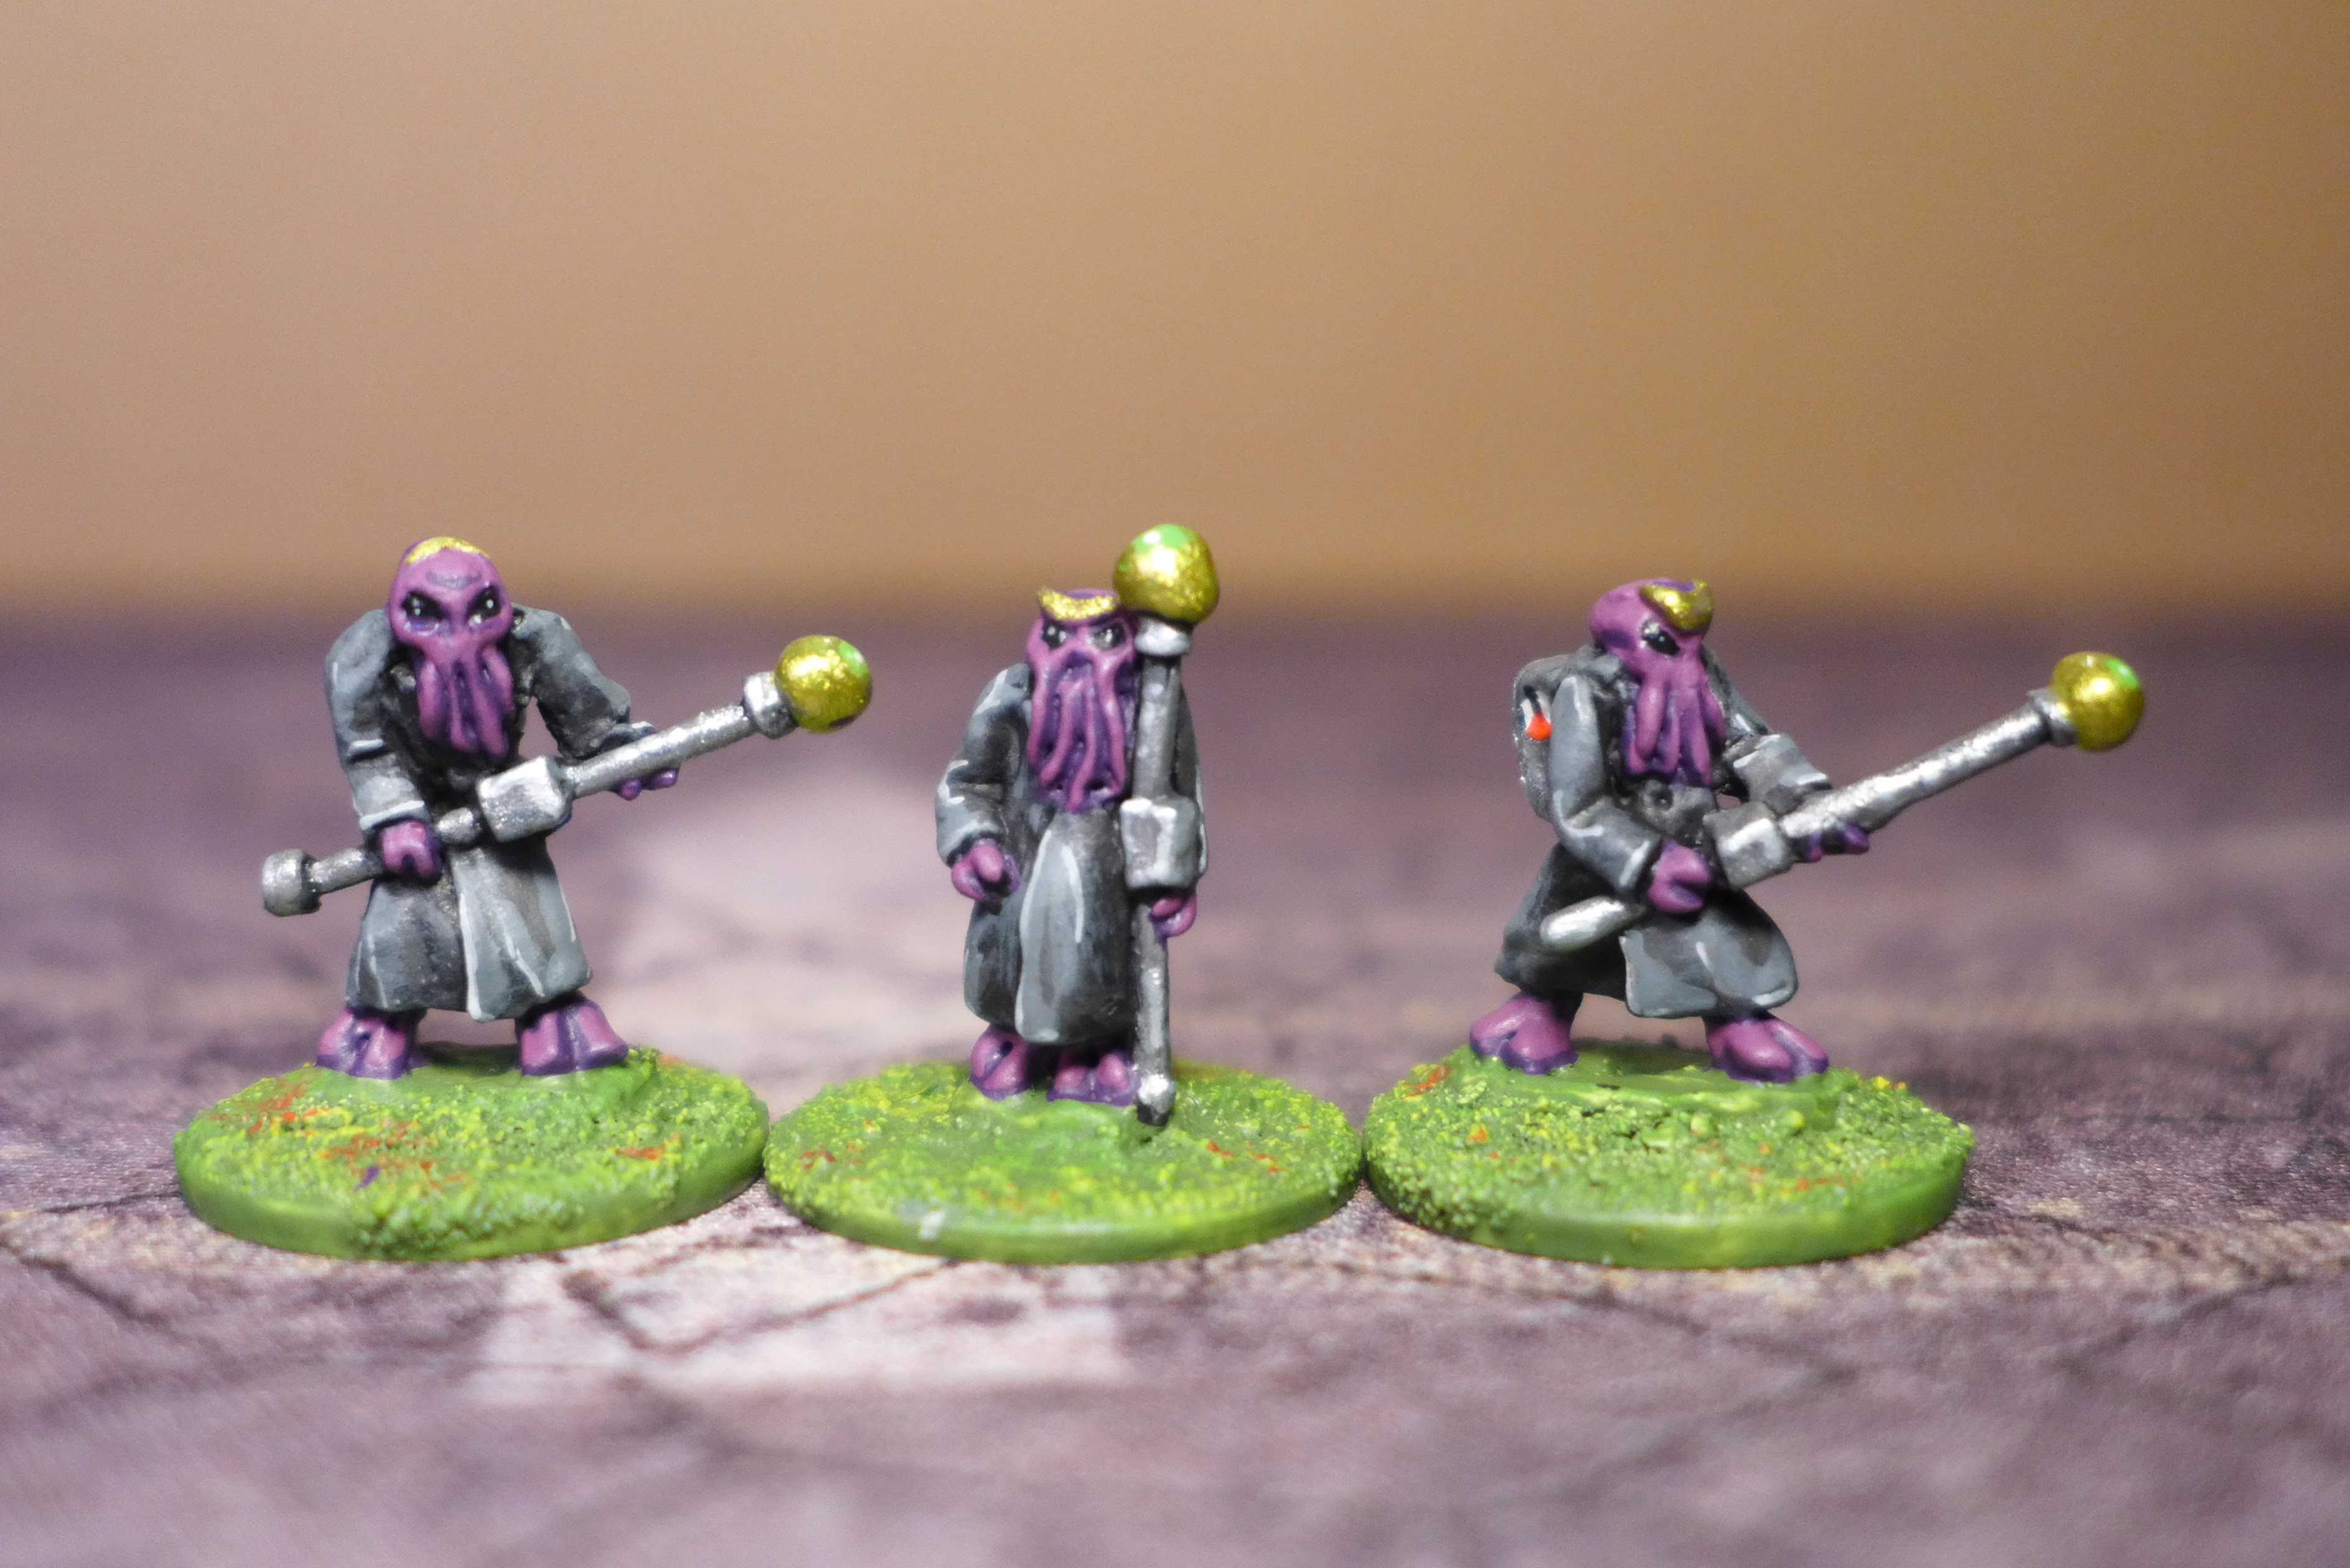
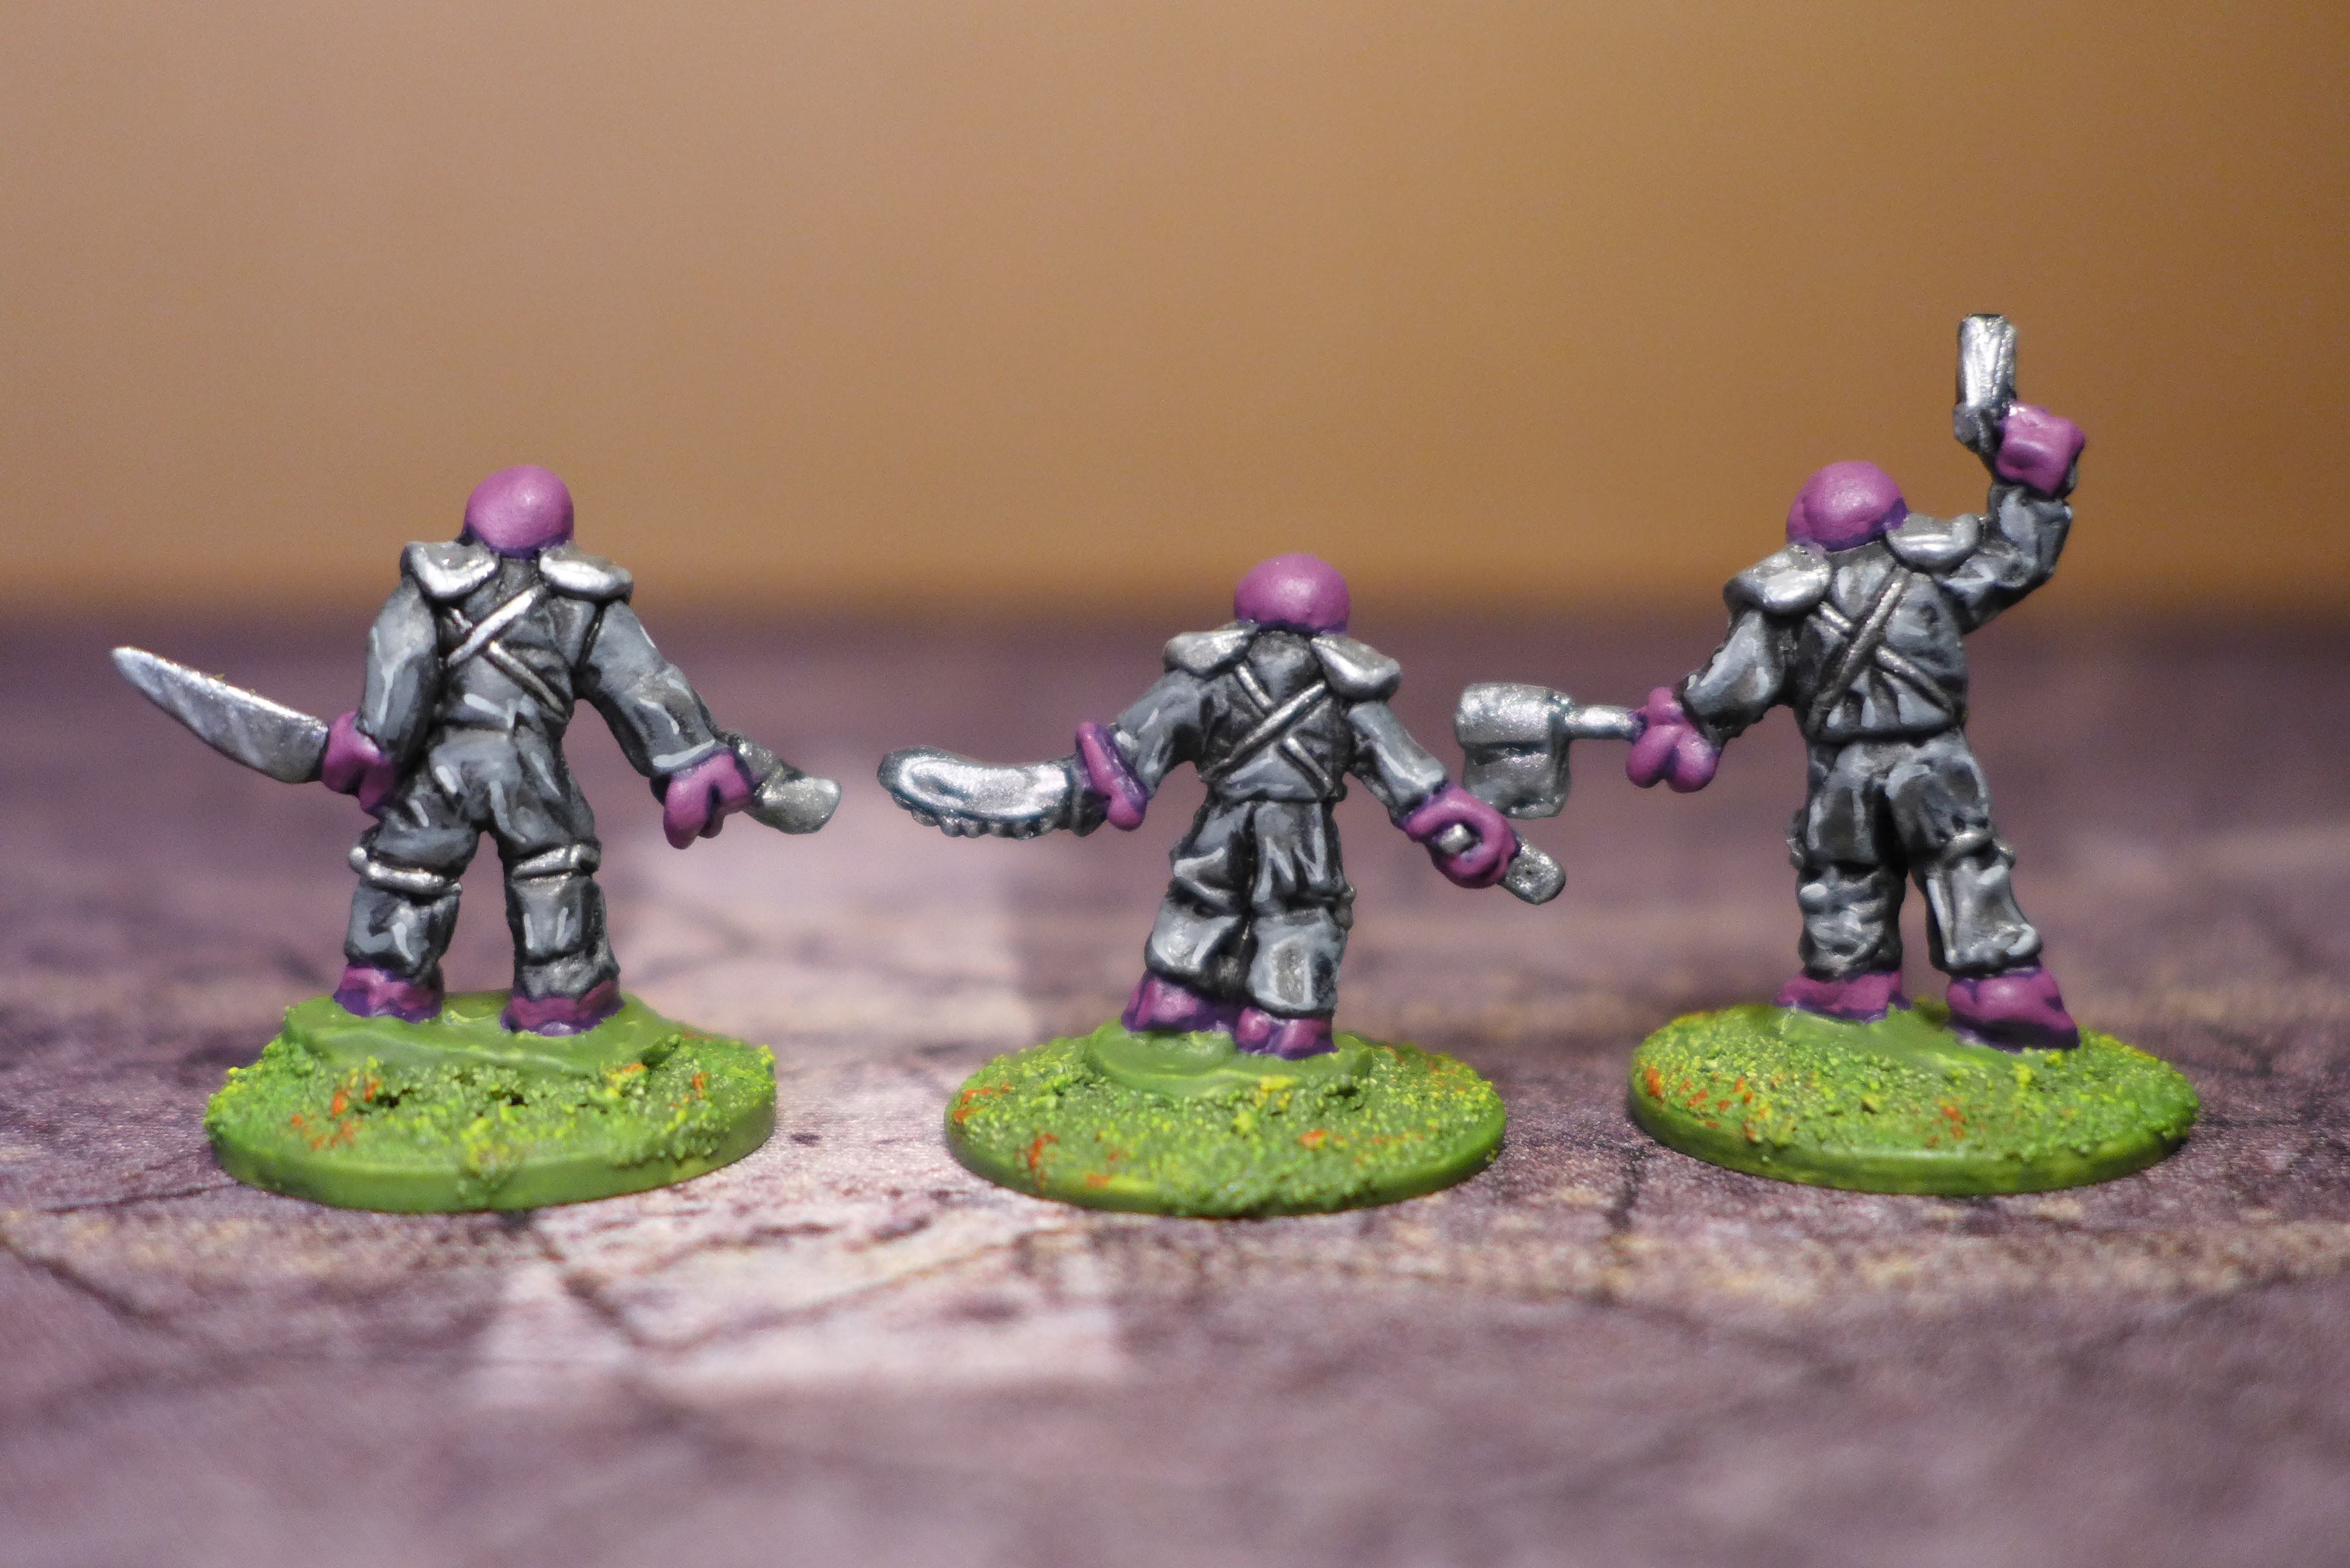
Anyway, here are a few pictures taken from my phone. These are all the same 15mm figures that I've shown in my previous posts.
 |
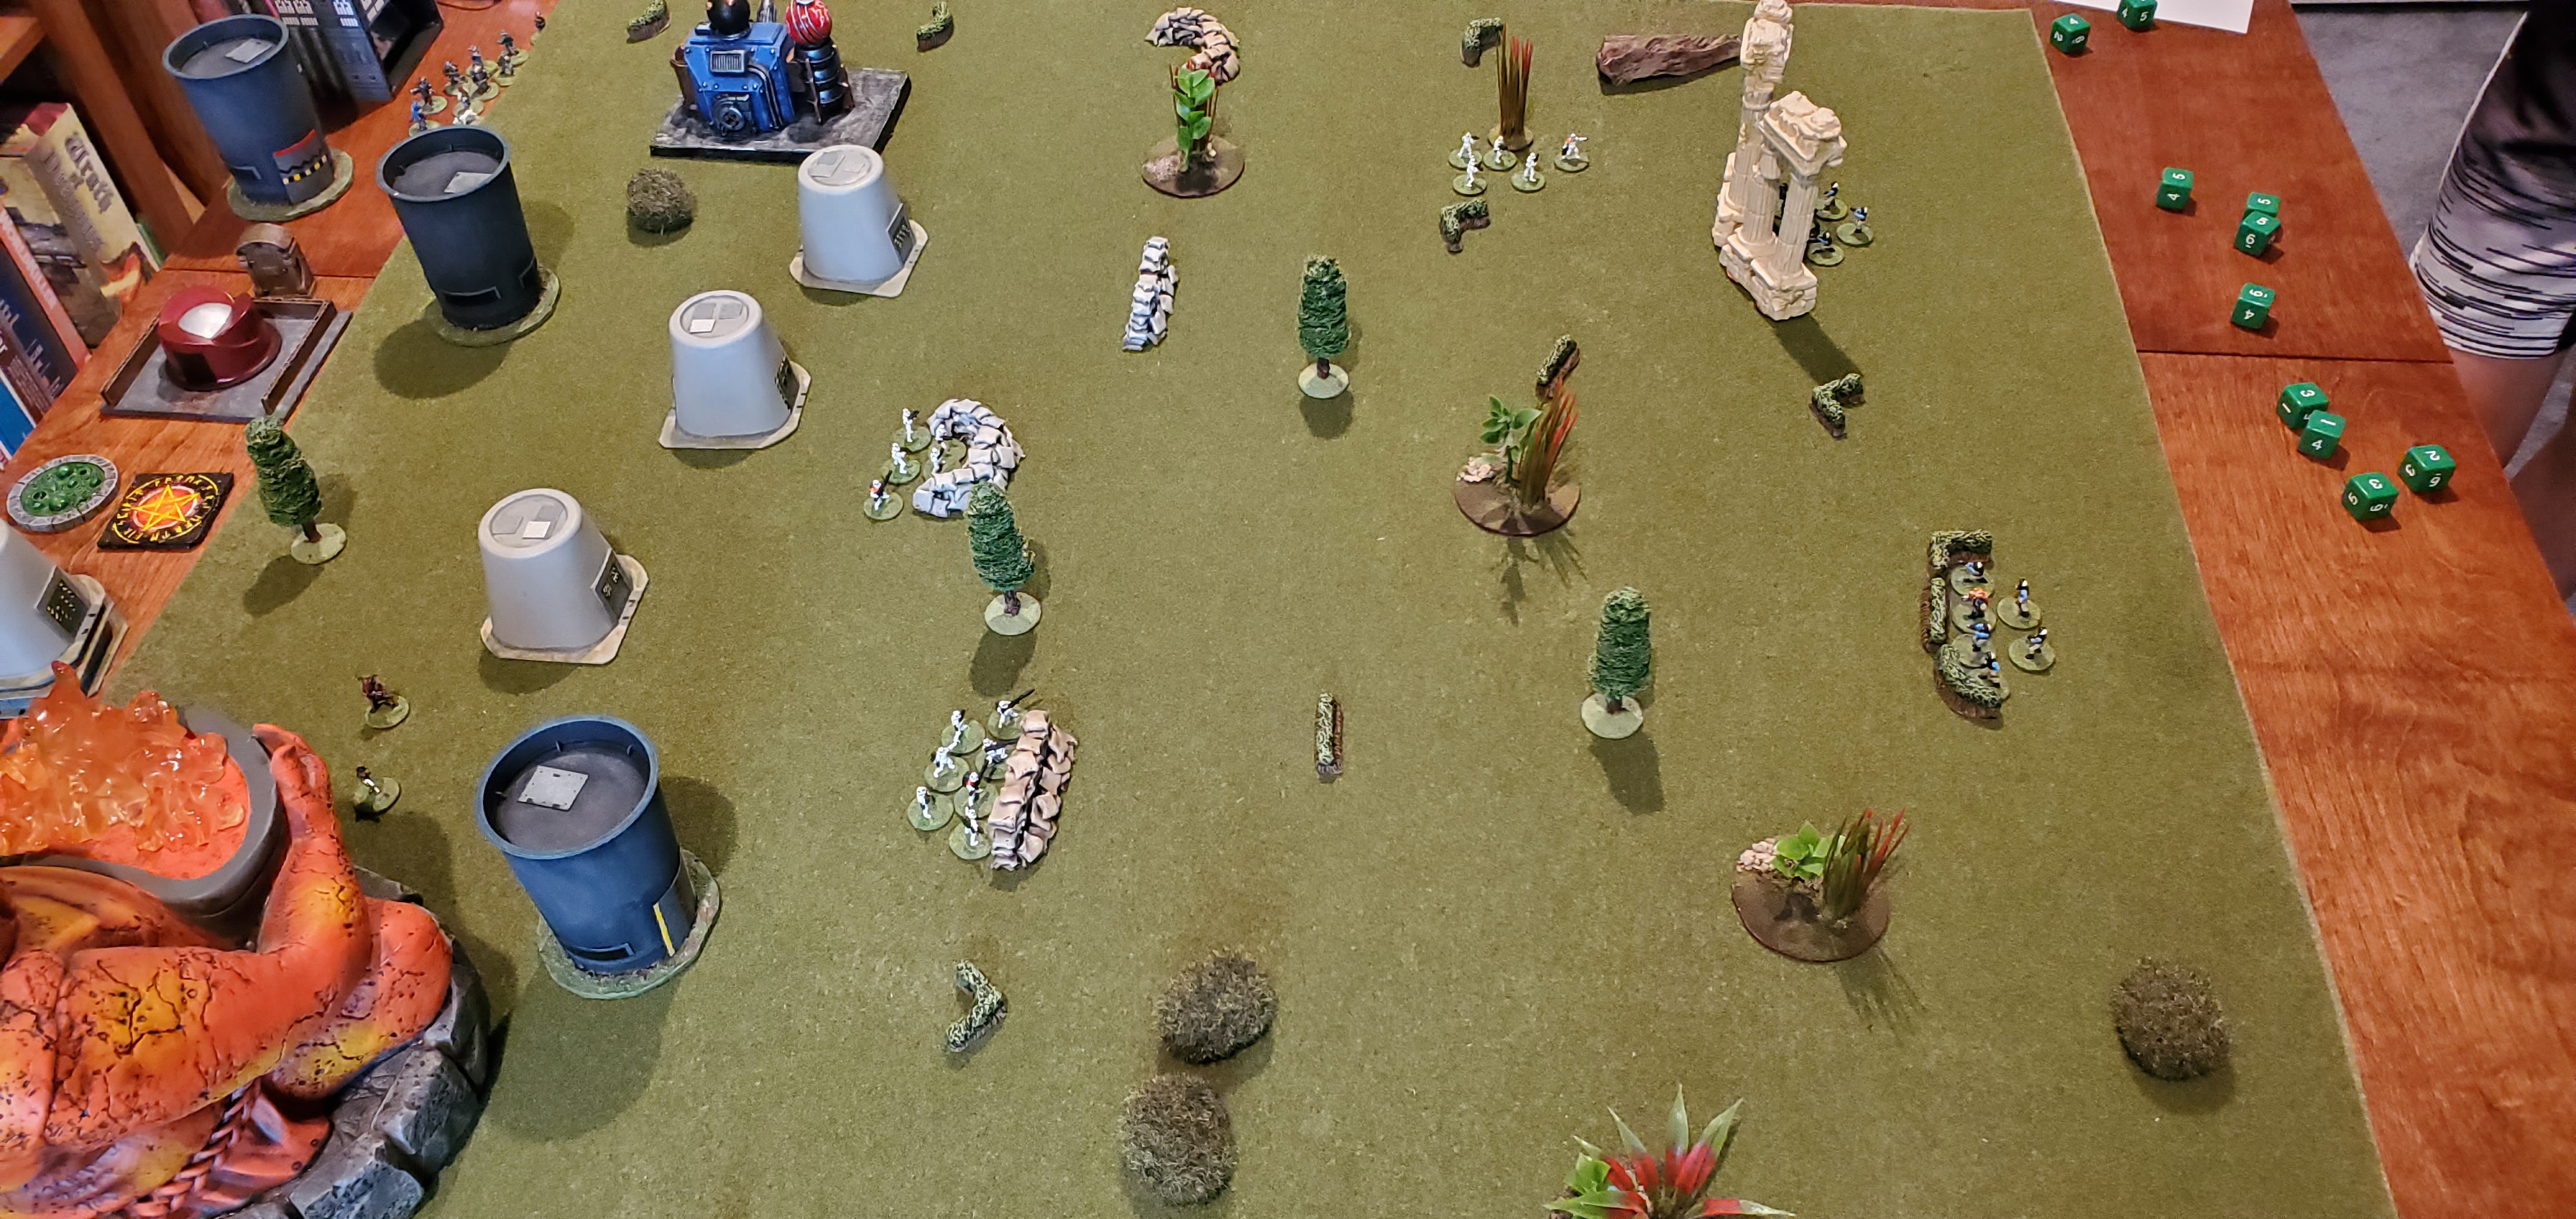
| This is several turns into the game. The glowy macguffin is the red Lego piece on the pentagram. Also, my Stormtrooper squad has been decimated by rather accurate blaster fire, which you can see where it came from in the next picture. |
 |
| Five of his Rebels absolutely mowed down my Stormtroopers with crazy-accurate shooting, but after that he was "scared" to advance. I kept telling him, you have to go get the thing, you can't just kill everyone and not go get it! This is what I'm talking about, watching him learn to think tactically. |
 |
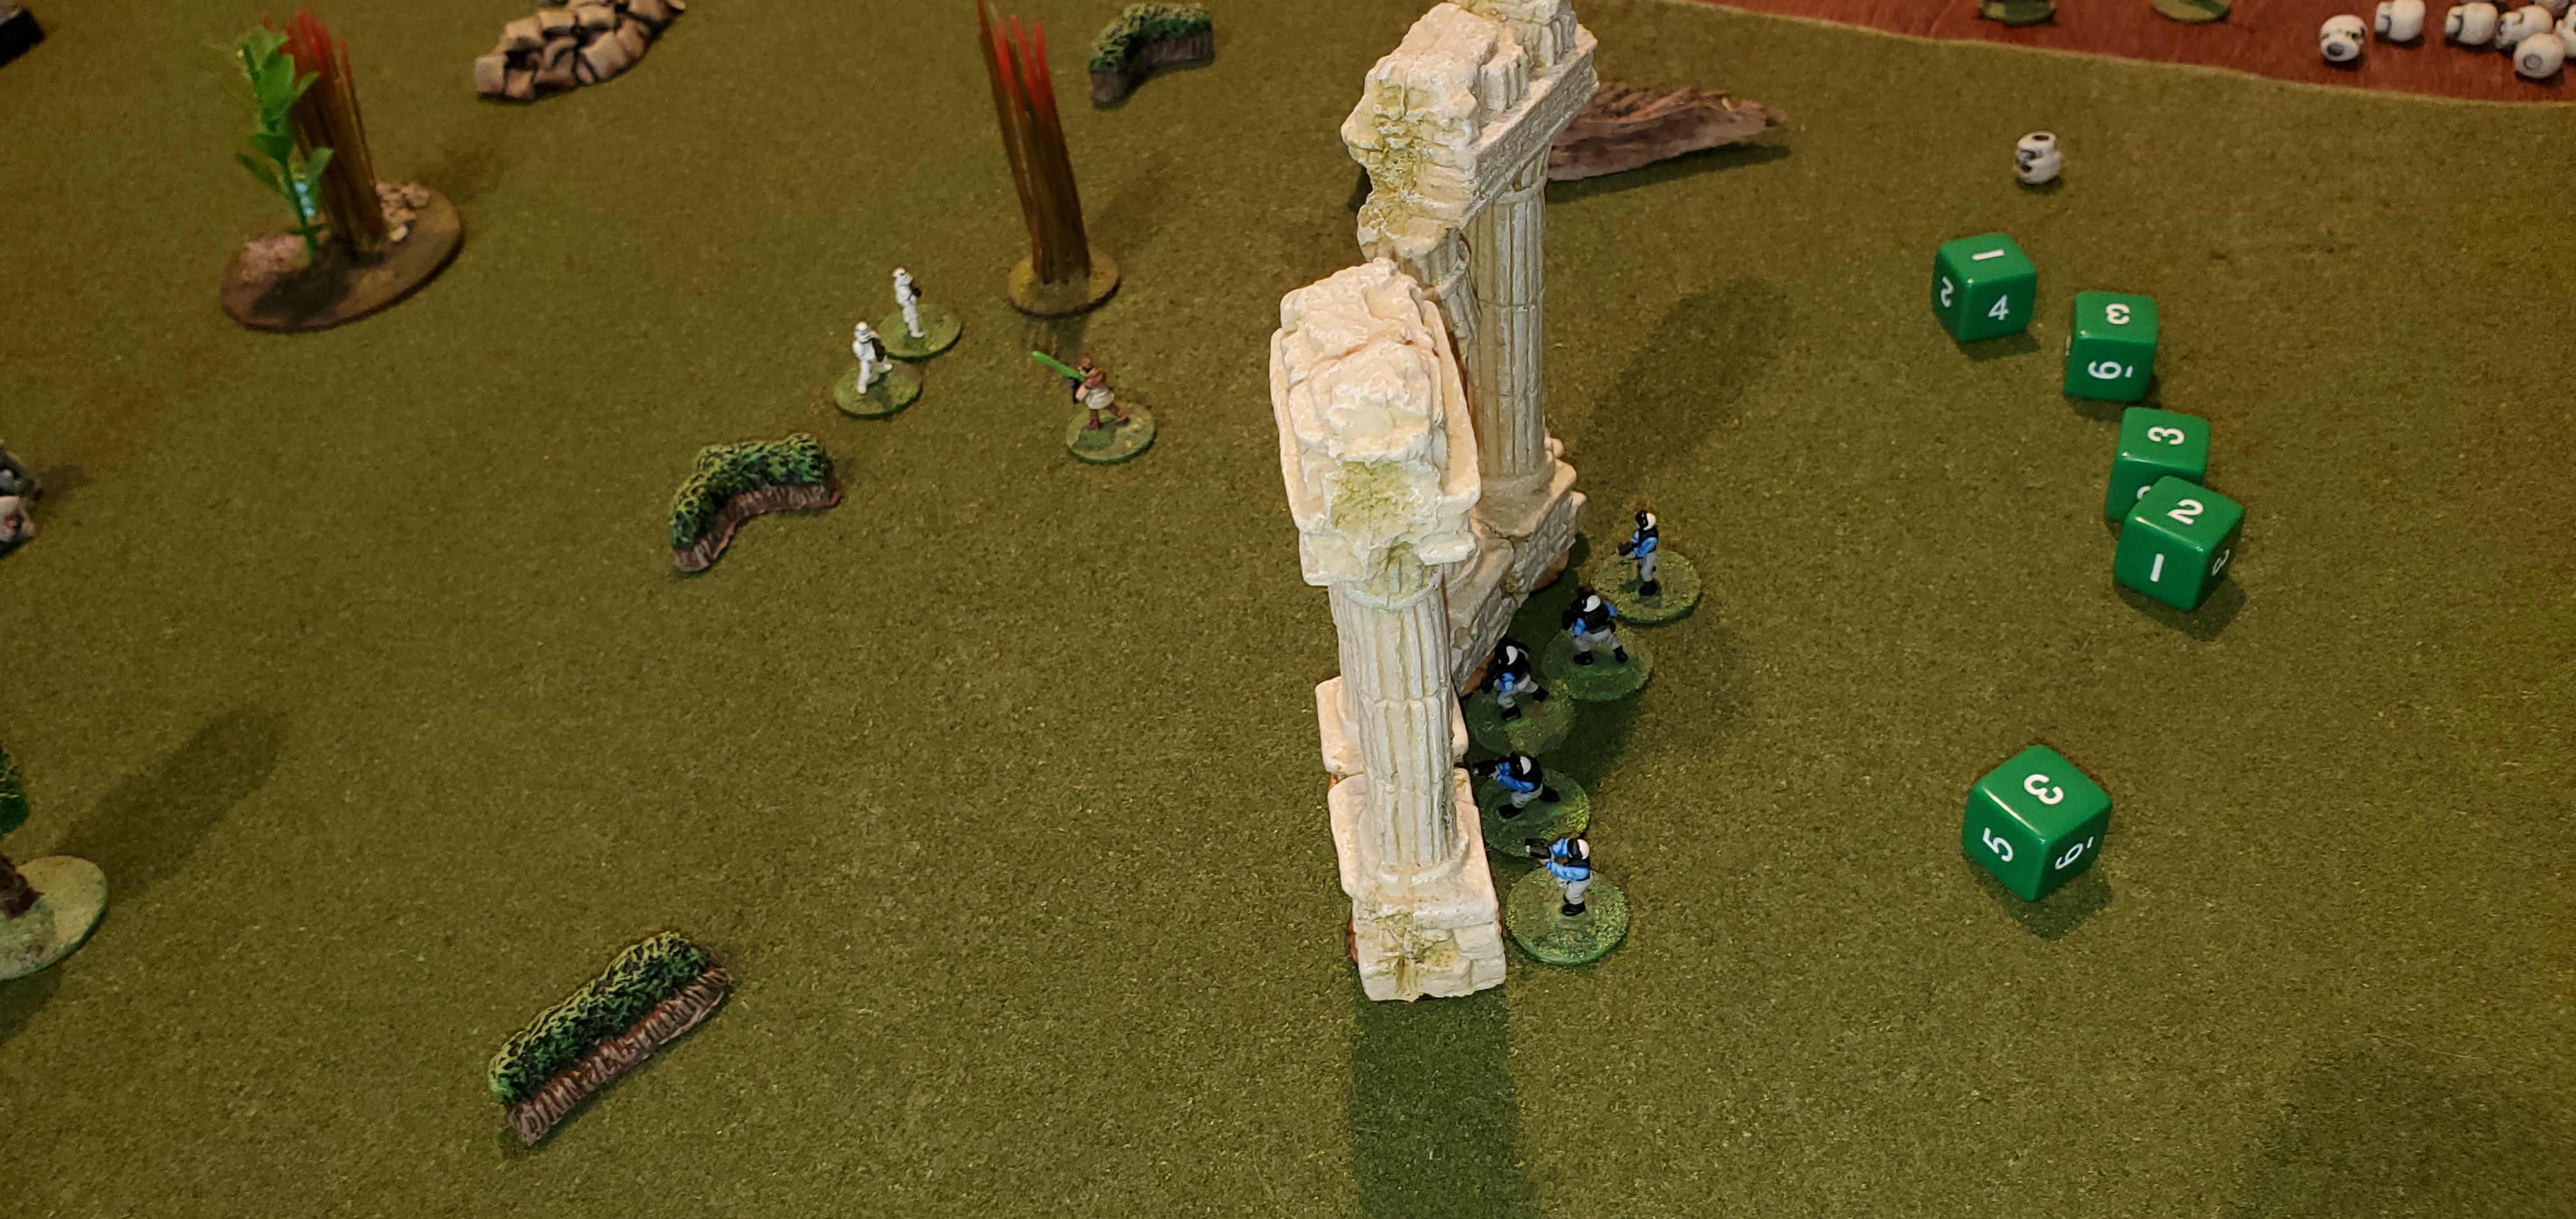
| Part of his scenario was for my main characters to arrive after the alarm had been sounded. After he wiped out both of my Stormtrooper squads, I figured the alarm had been sounded. We decided that my characters and one squad of Troopers would arrive via a roll of the die: I numbered the buildings that you can see here 1, 2, 3, 4, and the far table edge was 5, and 6 was roll again. I rolled a 5. So this photo is of a few turns after they came in on the far table edge. Meanwhile, he had only just now gotten his Jedi in contact with the macguffin. |
 |
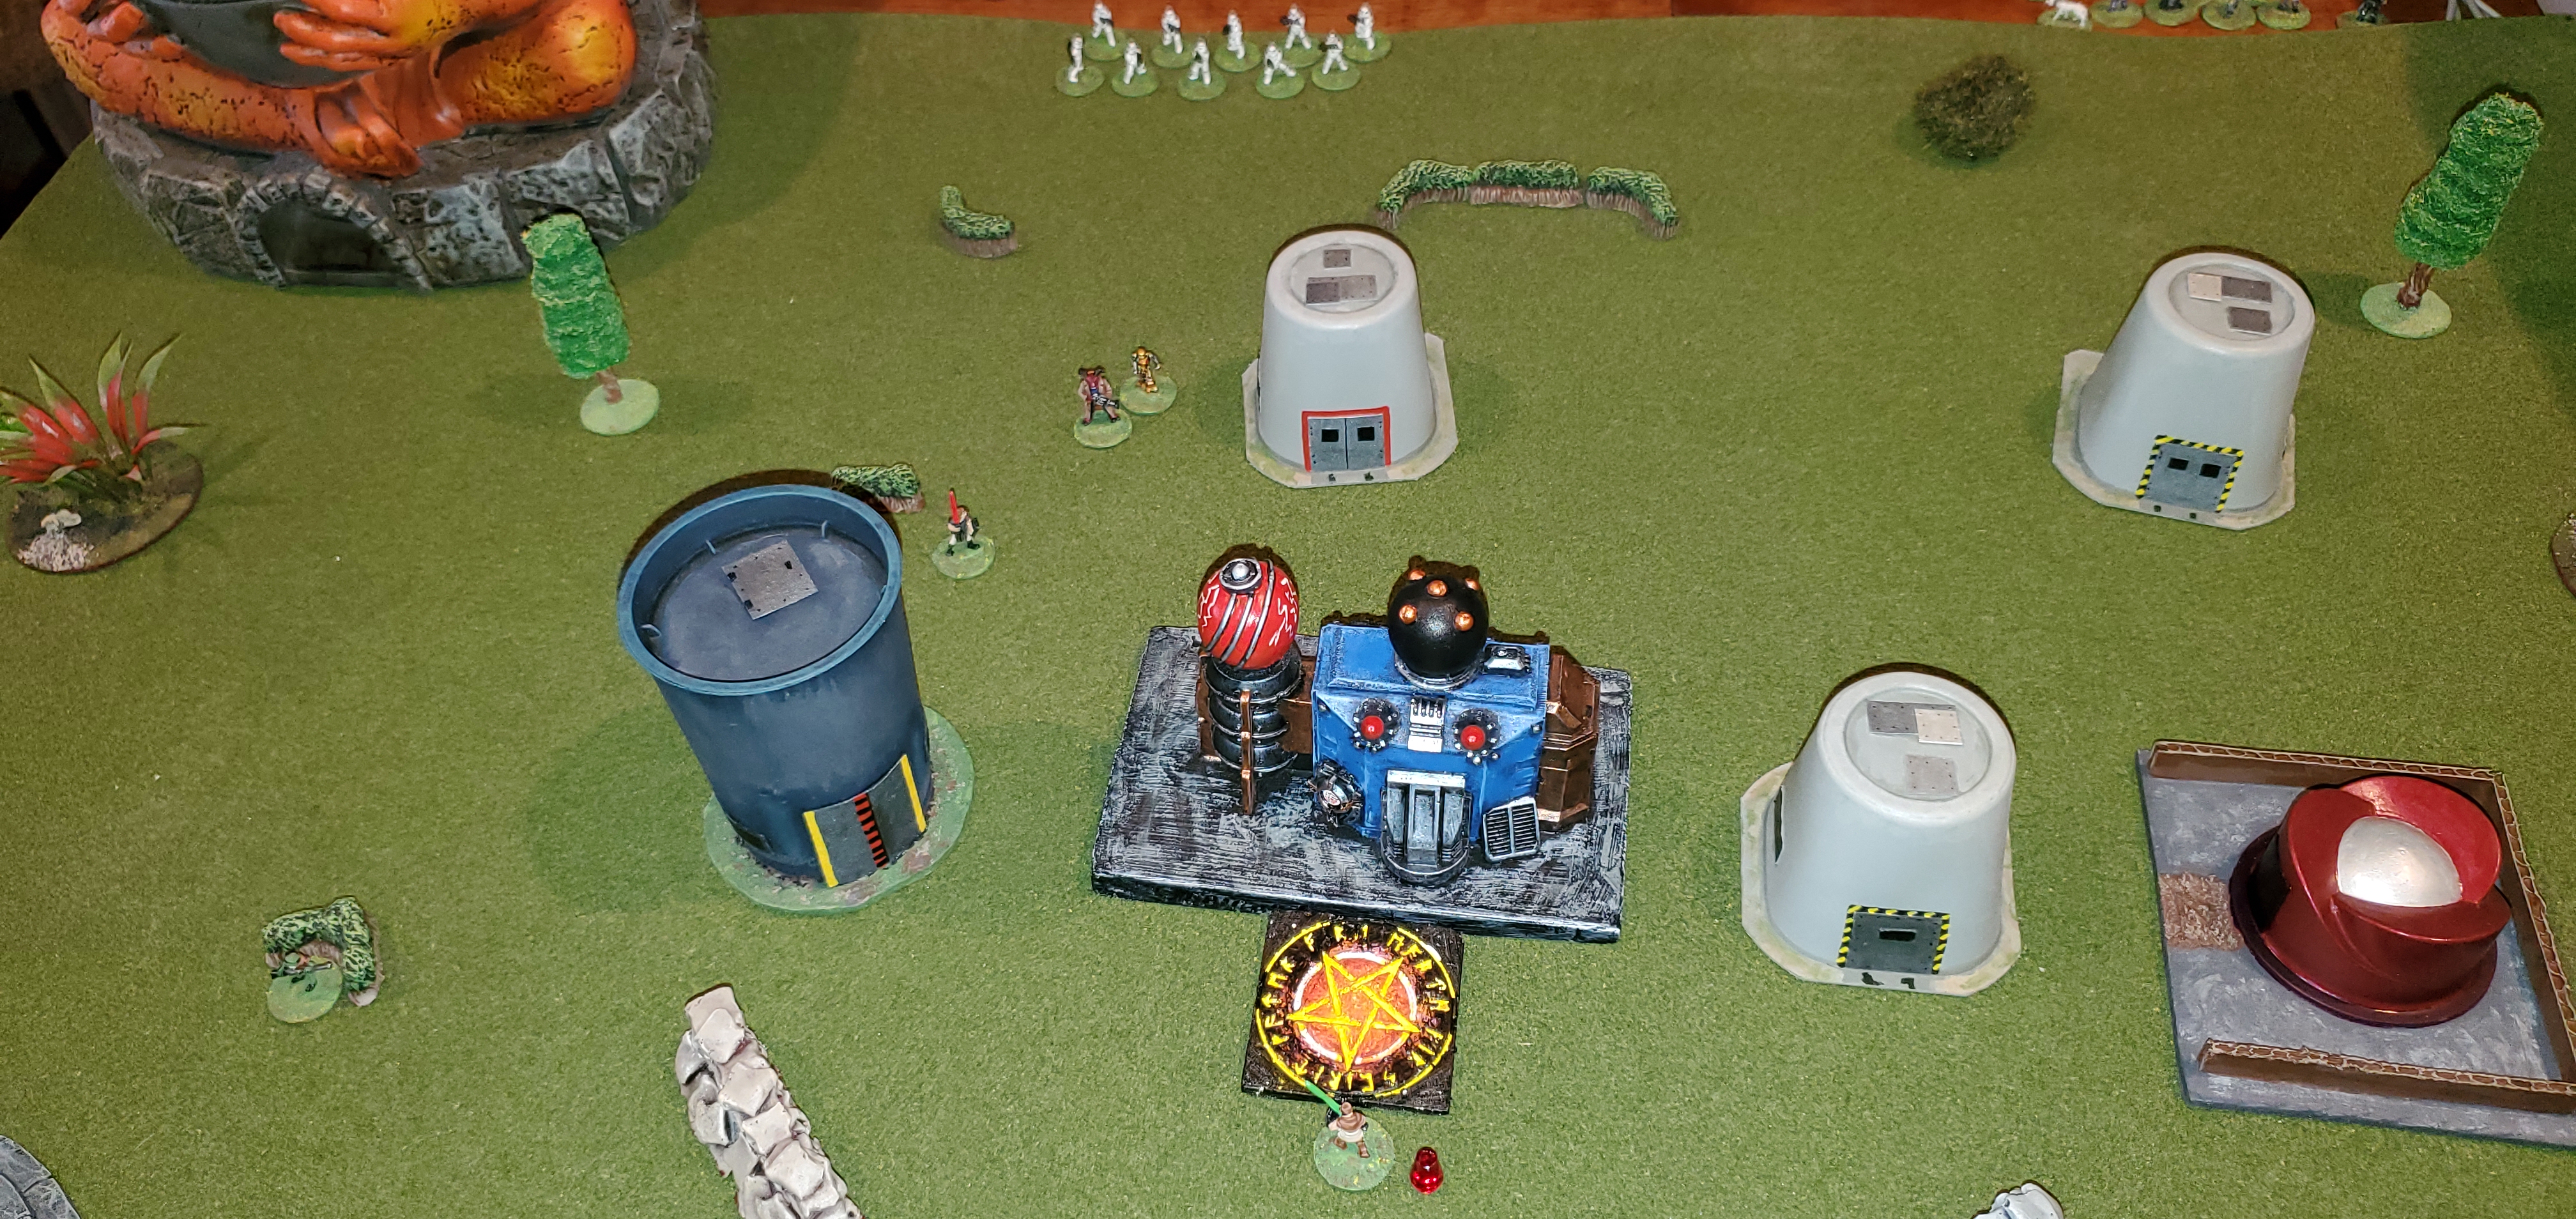
| A few more turns have passed, and I knew the only one who could catch his Jedi (with his Force-speed) was my Sith, and even then he would only be able to stay even with him. So my Sith used a Force-pull and snatched the macguffin out of the Jedi's hands, and then he was going to run away, but this is where I "took a dive." I knew that no one on his side could catch my Sith (because he had been so hesitant to advance anyone, most of his Rebels were still in their original positions), so instead of running away, my Sith decided to be reckless (hey, it's a Sith trait!) and stood his ground to destroy the pathetic Jedi. (Yes, there was a lot of fun smack-talk at the table!) |
 |
| Here is the aftermath of my decision. His Jedi legitimately (and fairly) K.O.'ed my Sith, getting the macguffin back. I had one last chance, and I decided to let the dice fall where they may. He was O.K. with it, too. |
 |
| My last chance was for my brute of a close combat monster to charge into melee and kill the Jedi. I was actually pretty worried I would win, but like I said, he was O.K. with the chance. He was definitely getting into the spirit of the game by this point. |
 |
| As a side-bar, some of his Rebels were finally moving closer, and my Droid had scared off his other gunman character. |
 |
| This is simply a close-up of the dramatic final confrontation. Who will win? |
 |
| Well, if you haven't figured it out from all the clues I've given so far, you're not paying attention. His Jedi won in melee (again, legitimately; I rolled so poorly) and then took off running at super-speed, and we called the game. He was happy he won, and I was happy he played. |
There were a few rules questions that came up, mainly because I had never used them in my solo games; such as hiding, and certain Force powers. One House Rule we used was that both Jedi and Sith could use any of the Force powers listed in the book, so long as they had sufficient Essence/Fate dice to power it. This greatly broadened the abilities of the characters without, in my opinion, too greatly weakening the system.
Thanks for reading!